
VS Code, Ollama and Continue
Today I configured my code editors, VS Code and Cursor, to use a local LLM rather than Copilot or Cursor Chat. I have an M1 Macbook Pro running Ventura 13.7.1. So far, the models work well though a bit slower than that of their cloud counterparts. I’m enjoying the experience and will likely stick with this for basic workflow and switch to bigger models if a project ever calls for it.
Below is a tutorial on how to set this up on your own computer. I set mine up on OSX but it’s possible to do this on Windows and Linux as well.
What you’ll need:
- Visual Studio Code or Cursor AI
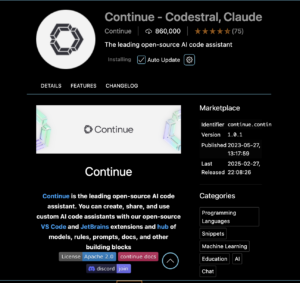
- Ollama
- Continue IDE extension
** I will not cover the IDE install or Ollama setup **
Walk Through
- Download and Install Continue as an extension into VS Code or Cursor.ai
- Download Continue extension:
- Click Extensions icon
- Search for Continue
- Click Install
- Download Continue extension:
- Once installed, follow the setup instructions to begin the config process.
- Configure Continue to use Ollama:
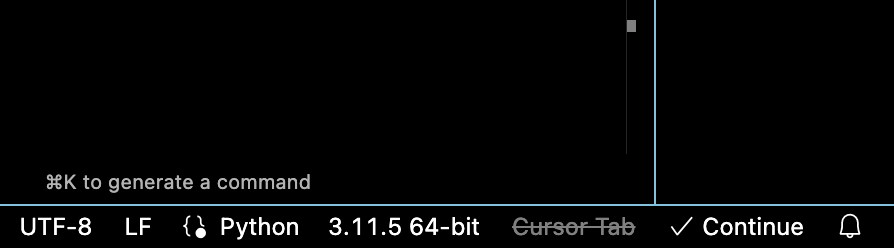
- If continue doesn’t automatically open a setup window:
- At the bottom right there will be a cursor button.
- Click Continue
- At the bottom right there will be a cursor button.
- If continue doesn’t automatically open a setup window:
- A dropdown will show below the search bar at the top of the IDE.
- Click Open Help Center
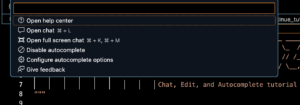
- Scroll down to Quickstart
- Click Quickstart
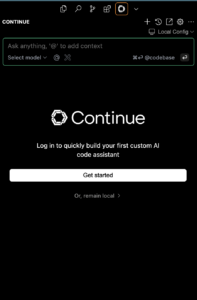
- Click ‘Or, remain local’
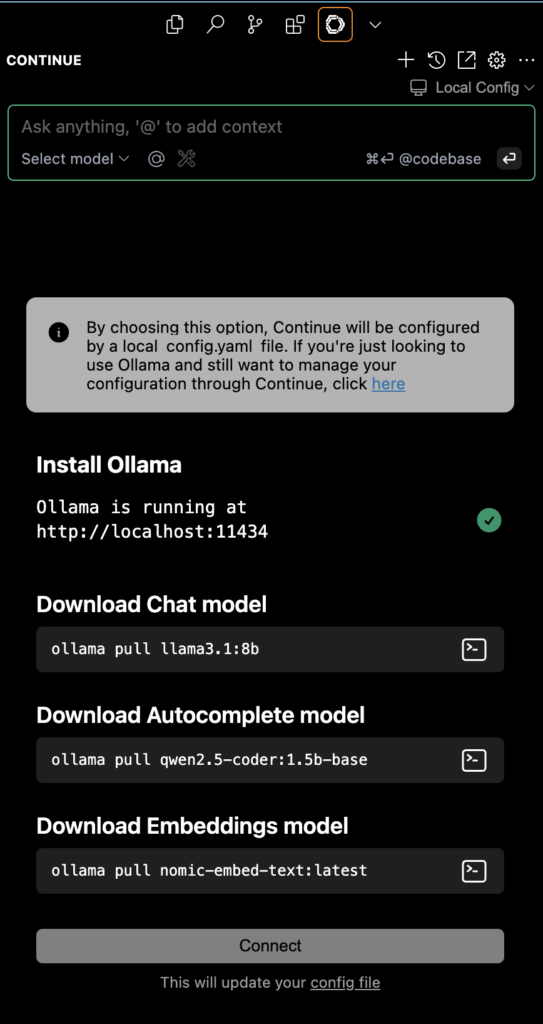
- Download the necessary Ollama models Continue needs to run locally
- ollama pull llama3.1:8b
- ollama pull qwen2.5-coder:1.5b-base
- ollama pull nomic-embed-text:latest
- [Option 1] Click Continue in quickstart menu
- Follow prompts to update config.json file.
- [Option 2] Update config file manually
- Go back to quickstart menu (see step 2.a)
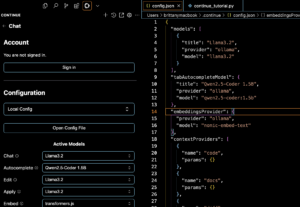
- Scroll down to Configuration > Local Config
- Click Open Config File
- Edit config file with model info
- If you used the recommended models from Continue quickstart, use the code below for the config file:
"models": [

    {

      "title": "Llama3.2",

      "provider": "ollama",

      "model": "llama3.2"

    }

  ],

  "tabAutocompleteModel": {

    "title": "Qwen2.5-Coder 1.5B",

    "provider": "ollama",

    "model": "qwen2.5-coder:1.5b"

  },

  "embeddingsProvider": {

    "provider": "ollama",

    "model": "nomic-embed-text"

},- Taken directly from Continue docs
- Config path should be ~/.continue/config.json
- Save the config file
- Restart IDE
- Setup complete!
- Use Ollama
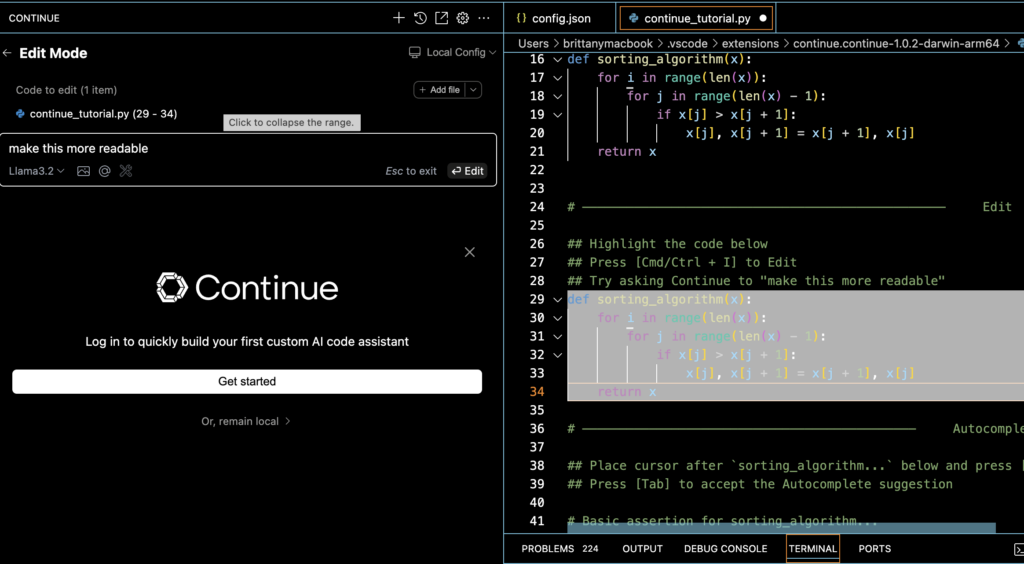
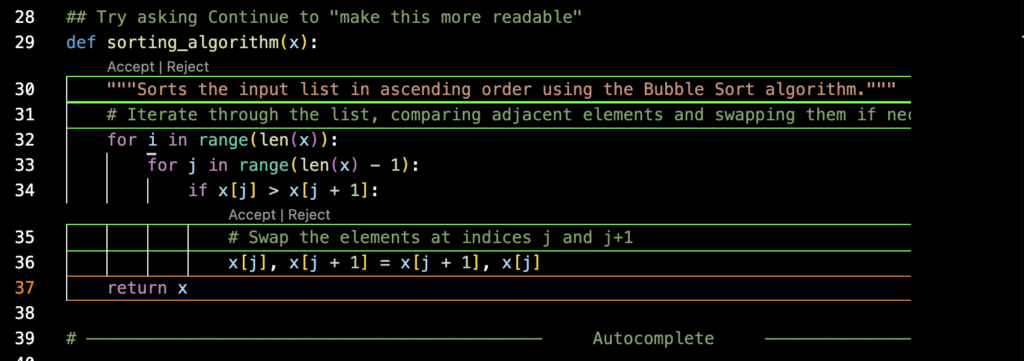
- [option 1] You can follow the tutorial to test and learn:
- Open the tutorial again by following step 2a again
- or navigate to the file directly:
- /Users/[user] /.vscode/extensions/continue.continue-1.0.2-darwin-arm64/continue_tutorial.py
- or navigate to the file directly:
- Follow the comments in the tutorial
- Open the tutorial again by following step 2a again
- [option 1] You can follow the tutorial to test and learn:
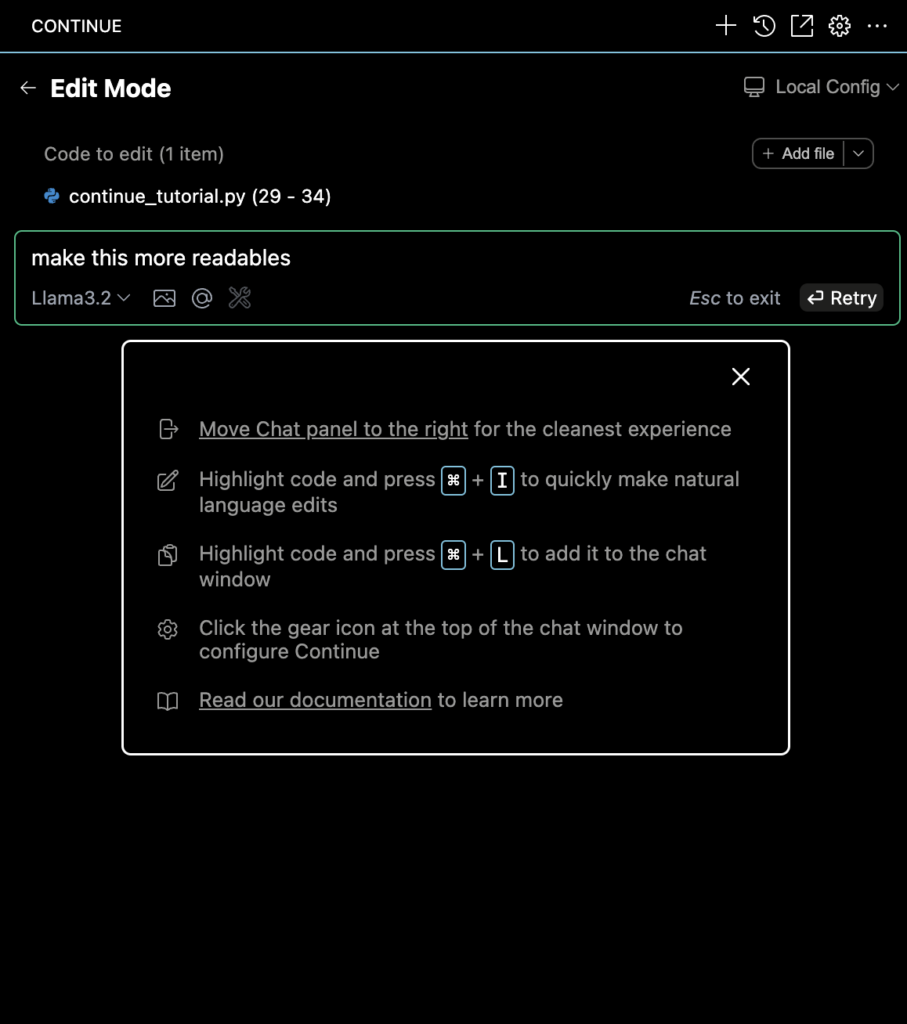
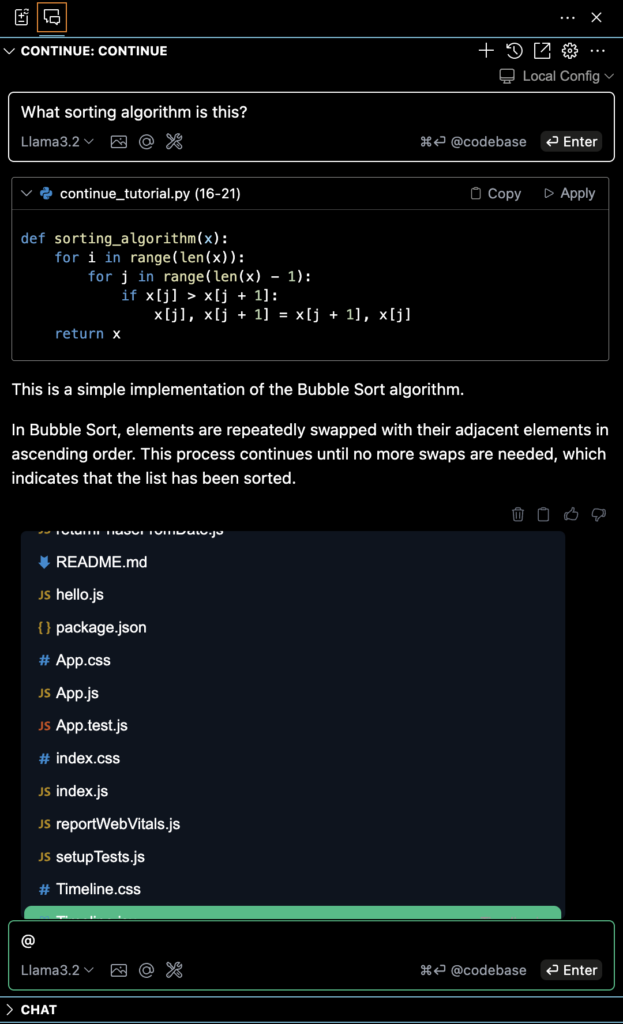
- [Option 2] Or jump right in:
- Highlight code and press CMD+L to chat
- Highlight code and press CMD+I (uppercase I not L) to have AI update code for you
- You can add context with files, the entire codebase, etc. just like you would with copilot or the base cursor chat.
Setup complete!
Ongoing issue with Cursor IDE:
I found that VS Code updated the shortcuts to open Continue chat instead of Copilot chat without further configuration. The Cursor IDE did not make this change automatically. I suspect that’s because it’s Cursor’s main selling point, so they don’t want to so willingly make it obsolete. If anyone has insight on how to change this, please leave it in the comments. I’ll update this post if I find my own solution.
Sources: